
 Blog
Blog Videos
 Music
Music Links
Links Contact
 About
About Homepage
 RSS feed
 Guestbook
 IRC
IRC
A novelty LAN chat with Tmux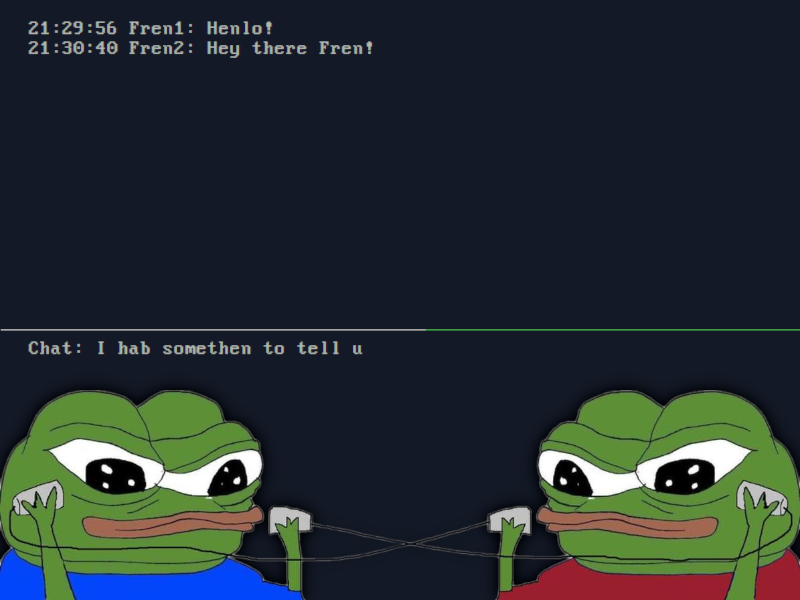
Did you know know that it's possible to make your very own chat client out of tmux, tail, echo, and a network file share? Now this is just a novelty thing and really not intended for some sort of serious use, but it’s fun to tinker with! Think of it like a pair of tin cans attached to a string. Something to note. If you’re mounting a CIFS / SAMBA file share with GVFS, then this might not really work well since GVFS obfuscates direct paths. You could create a soft link (shortcut) on your desktop to the file share, then specify that in the following script as a work around. Step 1:Let’s make a small shell script with the following contents. You'll need to name the script exactly “chat” for this example. If you want to name it something else, then make sure to replace the below highlighted instance of "chat" to the name of your script file.
Step 2:Within that shell script, you’ll need to insert your network file path beside the “file_location” variable, followed by the name of a file. It can be any name you want, but just make sure that it doesn’t contain any spaces, or the name of something that’s already there that might be important to you! This file will be used for handling chat discussions. You can also adjust the “nick” variable to have whatever nickname you want, or you can just leave it as “$USER” Also don’t forget to make the script executable!
Step 3:Now, go and grab a willing fren to setup this same script on their computer, and point it to the same file on the network file system. Then both of you will be able to chat with each other! To exit the chat, type “/quit” How it worksSo let's start with the bottom of the script in the "case" section. When you call up the script just as "./script.sh" this will direct "case" to run the "session" function. session function: The "session" function will execute a new tmux session that calls up a split. The top split executes the script with the "-log" flag, and the second split launches the script with the "-com" flag. chat_log function: The "-log" flag in "case" will run the "chat_log" function, which executes tail to follow the text file that holds the conversation. This will output into the top split of the tmux session. chat_func function: The "-com" flag in "case" will run the "chat_func" function, which runs a while loop. Within the loop, a date variable is set for time stamping the conversation, as well as a "read" prompt that is used for typing in the message. This message is then checked for the "/quit" pattern before submitting it to the file. The reason for using "case" and flag options is so that tmux can launch each function that's needed for the chat client to work. Thanks for reading my blog! Back to top!Comments:
|